When homeowners call us about their kitchens, we often hear some version of the same story: “It’s dark, chopped up, and no one wants to spend time in there.” That was exactly the case for one family in the foothills outside Sacramento. Their 1980s kitchen had heavy cabinets, a low ceiling soffit, and a peninsula that cut off the room from the adjoining family space.
Here’s how SB Construction helped them turn that cramped room into the bright, open heart of the home they’d been imagining.
Step 1: Understanding the Pain Points
During our first walk‑through, we asked:
- What frustrates you most day to day?
- Who cooks, and how do you like to work?
- How many people usually hang out in this space?
- Do you entertain? How often?
Their answers were clear:
- “We feel cut off from guests and the rest of the family.”
- “There’s not enough prep space or storage.”
- “The lighting is terrible at night.”
- “We’d love an island, but we don’t know if it will fit.”
Step 2: Exploring Layout Options
We created a few layout concepts, focusing on:
- Removing the peninsula
- Opening the wall between the kitchen and family room
- Replacing upper cabinets on one wall with windows for light
- Adding an island with seating and storage
Because the wall they wanted to remove was partially load‑bearing, our team designed a
structural beam to carry the load while keeping the opening as wide as possible.
Step 3: Structural and Mechanical Planning
Before any demo, we:
- Verified existing electrical and plumbing locations
- Planned new circuits for modern appliances and lighting
- Coordinated HVAC changes due to the open layout
- Secured permits and engineered drawings
This planning avoided surprises mid‑project.
Step 4: Demolition and Rough Work
Once demo started, we:
- Removed the soffits and old cabinets
- Installed the new beam and posts
- Relocated plumbing for the sink (now in the island)
- Upgraded electrical to current code and added can lights, pendants, and under‑cabinet lighting
We kept the family informed with weekly updates and protected surrounding areas from dust as much as possible.
Step 5: Cabinets, Surfaces, and Light
The homeowners chose:
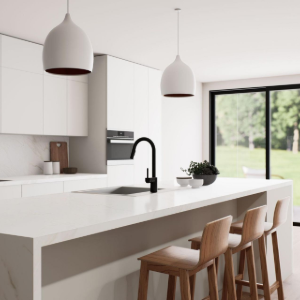
- Shaker‑style cabinets in a warm white with soft‑close hardware
- Quartz countertops for durability and easy cleaning
- A tile backsplash that went to the ceiling behind the range
- A statement range hood as a focal point
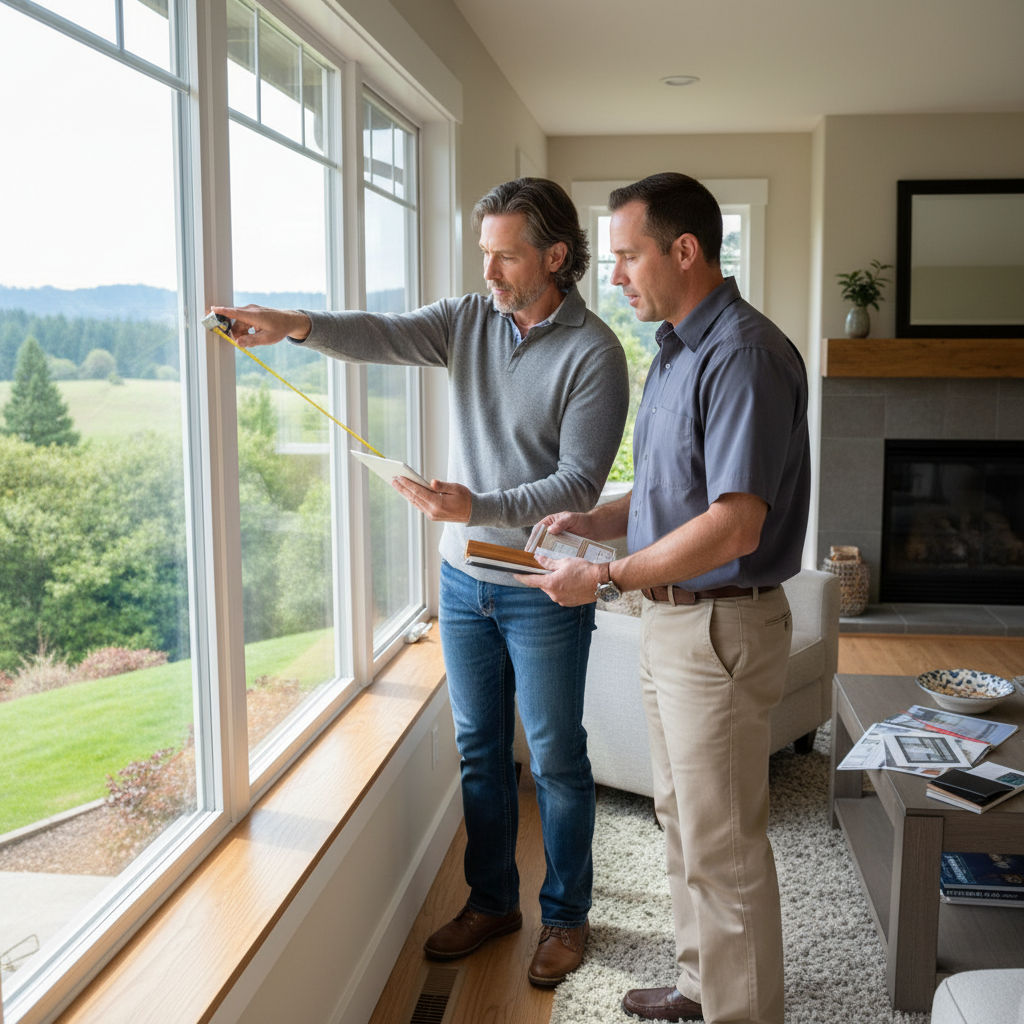
We also installed
larger windows over the main counter run, bringing in natural light that completely changed the feel of the room.
Step 6: The Island That Changed Everything
The new island became:
- A prep hub with a large work surface
- Storage for pots, pans, and small appliances
- Seating for three, perfect for kids’ homework or casual meals
- A visual connection point between kitchen and family room
What had once been a tight, blocked‑off space now felt like the center of the home.
Step 7: Final Touches and Walk‑Through
After flooring, paint, and finishing details, we walked the family through:
- Appliance use and maintenance tips
- How to care for their new countertops and cabinets
- Warranty information and what to watch for over the first year
Their feedback? “We actually want to be in here now.” That’s our favorite part of any remodel.
If you’re living with a dark, dated kitchen and aren’t sure what’s possible within your existing walls, SB Construction can help you explore options, costs, and timelines with no pressure—just clear information.